Charge Management Tag and Worklist Assignment
Assign a Tag to a Charge Management Rule
Access: Libraries > Charge Management Rules
When a Tag is assigned to a Charge Management Rule, and the Charge meets the Rule's criteria, the Tag will be auto-assigned to the Encounter.
- On the Add/Modify Charge Management Rule screen, select a Tag in the Tag Assignment field.
Apply Tags to Existing Encounters
- Apply Tags to Existing Encounters: Select the checkbox to auto-apply the Tag(s) to all existing Encounters.
- This happens once and will apply to Encounters that exist at the time the rule is saved.
- If the goal is to create a Rule that should only affect Encounters before/after a specific date, set the Criteria for the Post Date or DOS to be Greater or Less Than the specific date
- For a Date Span, set one Criteria for Greater Than or Equal To and another for Less Than or Equal To.
- Example: Apply the Rule and Tag to all Encounters in 2024.
- First Criteria: Procedure - DOS is Greater Than or Equal To 01/01/24
- Second Criteria: Procedure - DOS is Less Than or Equal To 12/31/24
Expire Tags from a Charge Management Rule
When an Expiration Date is entered on a Charge Management Rule, all Tags assigned to that Rule are auto-resolved, and the Charge Management Rule will no longer be in effect.
- A Validation Warning will be displayed when the Rule is Saved.
- After selecting Save & Continue, the Tag will be resolved and removed from the banner on each Encounter associated with that Tag.
Assign a Worklist and/or Charge Management Rule to a Tag
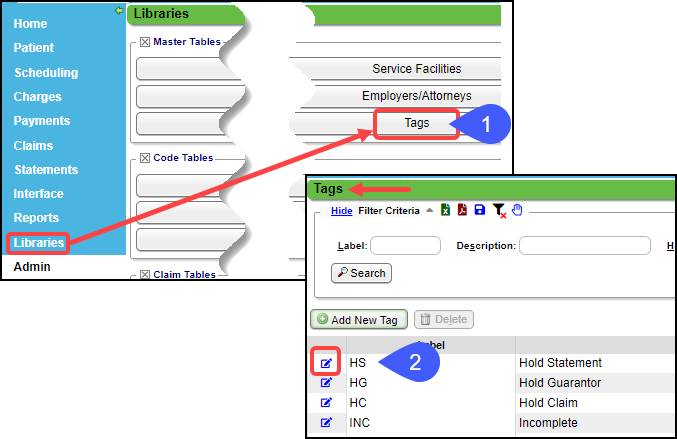
- Access: Libraries > Tags
- Select the Edit icon on the Tag.
When a Charge Management Rule applies a Tag that is tied to a Worklist, the Tag application automatically adds a Task Note. Because of this, the task will be marked as Unread for the Assignee.
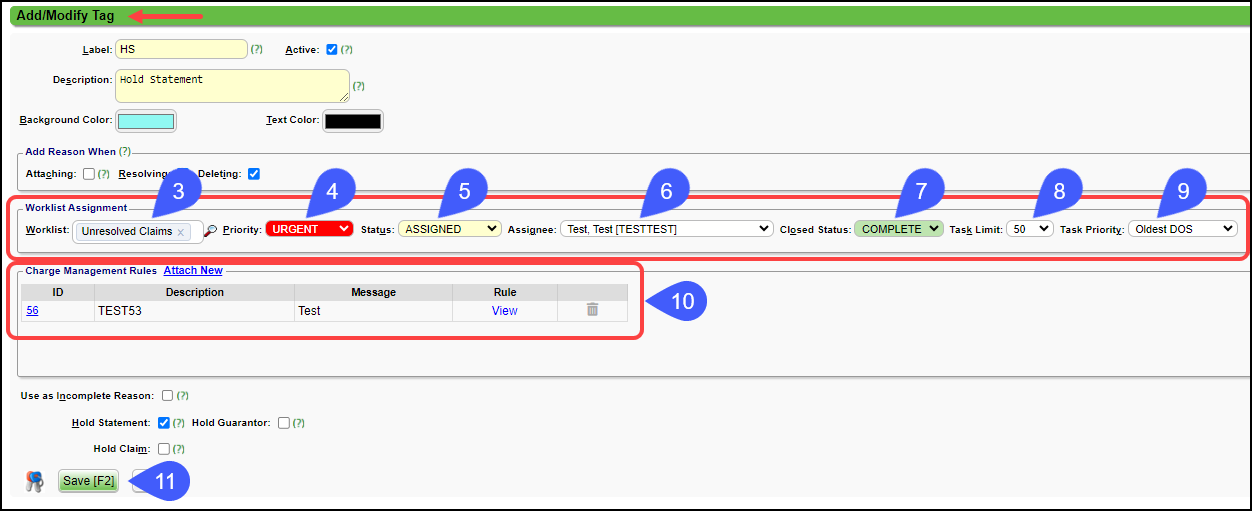
- In the Worklist Assignment panel, select or create a new Worklist using the Lookup icon.
- Select a Priority.
- Urgent
- High
- Normal
- Low
- Select a Status.
- Assigned
- In Progress
- Custom Status that you have created
- Select Assignee if applicable.
- Closed Status: Select the Status that displays when the Task is closed.
- Task Limit: Limit the number of Tasks in a Worklist.
- Select a Task Priority.
- Oldest DOS
- Largest Balance
- Oldest DOS, Largest Balance
- Select the Charge Management Rule for this Tag/Worklist.
- Select Save [F2].
When a Charge Management Rule is assigned to a Tag, and an Encounter meets the Charge Management Rule criteria, the Tag will auto-create on the Encounter.
Assign a Tag to an Encounter Worklist
Create or open an Encounter Worklist.
Worklist Tag Fields
- Tag: Select a Tag or create a new Tag using the Lookup icon.
- Priority: Select a Priority for the Worklist or leave blank.
- Status: Select a Status for the Worklist or leave blank.
- Assignee: This Worklist can be assigned to a User.
- Closed Status: The Status that displays when the Worklist is automatically closed.
- Select Save [F2].
Tags Filter on Worklists
On the Worklists screen, there is a Tags field to pull Tasks that have specific Tags.
Learn More
Worklists
Worklist Tasks
Add a Task to an Existing Worklist
Unassigned Tasks on the Worklist
Modify or Complete Multiple Worklist Tasks
Worklist Suggestions & Examples
Worklist Suggestions & Examples
Add an Appointment to A Worklist
Add a Manual Insurance Denial to a Worklist