Electronic Dental Claims Setup and Overview
Before creating Dental Claims, some preliminary set up needs to be done.

Dental Setup
Dental Payer
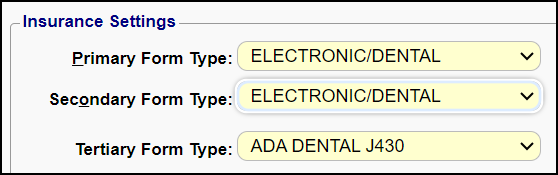
- On the Insurance in the Insurance Library, select Electronic/Dental for the Primary Form Type.
ANSI 5010 Dental Segments
Loop 2300 Claim Level
CLM*432E82**150***11::1*Y*A*Y*Y*B
DTP*472 (Service Date)
DTP*452 (Appliance Placement)
DN1 (Ortho Months of Treatment)
DN2 (Tooth Status)
HI*ABK:Z0120
Loop 2400 Line Level
LX*1
SV3*AD:D1110:TH*150*11********1
TOO (Tooth Information)
DTP*441 (Prior Placement)
DTP*452 (Appliance Placement)
DTP*446 (Replacement)
DTP*196 (Treatment Start)
DTP*198 (Treatment End)
REF*6R*432E82L1
Modifiers/Tooth Identifier/Surface/Quadrant
Dental Modifiers can be 1 to 8 characters.
- The Tooth Identifier, Surface Codes, and Quadrant Codes must be added to the Modifier Library.
- In Charge entry, the Modifiers will not auto advance to the next Modifier field on databases where Dental has been activated.
- Tab to the next Modifier fields.
- Tooth Identifier: The Tooth Identifier is added in the Modifier 1 field.
- 1 through 32
- Surface Codes: These must be ANSI Codes. The Surface Codes identify the area of the tooth that was treated.
- B: Buccal
- D: Distal
- F: Facial
- I: Incisal
- L: Lingual
- M: Mesial
- O: Occlusal
- These are added in the Modifier field.
- If more than 1 Surface Code, add as an additional Modifier.
- Quadrant Codes: The Quadrant Codes will be used in the Modifier field. A Quadrant is defined as four or more contiguous teeth and/or teeth spaces distal to the midline.
- The Code starts with a 2-digit ANSI code that designates the area of the oral cavity: 00, 01, 02, 10, 20, 30, or 40.
- It ends with .Q
- 00: Entire oral cavity
- 01: Maxillary arch
- 02: Mandibular arch
- 10: Upper right quadrant
- 20: Upper left quadrant
- 30: Lower left quadrant
- 40: Lower right quadrant
- Example: 00.Q

Add Taxonomy Code to Box 56A
If the Payer wants a Taxonomy Code on the Claim, ask Support or your Implementation Manager to add the Cross Code to put the Taxonomy Code on the Claim.
- Individual Taxonomy code for Dental
- Pay To/Billing Group Taxonomy for Dental
Instructions on completing the 2019 ADA form (external link): ADA Dental Claim Form

For Internal Use: Only
Setting 1: Activate Dental Charges for a Database
Setting 2: Allow for Dental single tooth modifier on Charge Entry
Related Articles
Manually Batch and Upload Electronic Claims
Manually Batch Claims Go to the Claims Management Dashboard by selecting Claims on the Left Side Menu. Ready to Batch In the Claim Submission Queue panel, select the Batch Claims button. To view the Individual Claims, select the number in the ...Claims Management Dashboard
Claims Management Dashboard Claims Management Dashboard Overview Claims can be manually batched and uploaded at any time, or the Job Scheduler can be used to automate the Claims batching and upload process at a pre-set day and time. Close the ...ERA Posting Overview
ERA Access on the Payment Dashboard All Loaded ERAs are viewable from the Payment Dashboard in the Electronic Remittance Advice - Loaded panel. From this screen, you can navigate to the ERA File Dashboard or the ERA Remit Items screen by selecting ...Unbalanced Claims
A common rejection is for Unbalanced Claims: Payments and Adjustments do not equal Charges. If an Encounter is unbalanced or missing the Primary Insurance adjudication, the Claim will not batch. The Primary Payment on the Claim must be posted ...Statements/Invoices Overview
Statements/Invoices Overview Statement and Invoice Profiles must be set up before Statements can be sent. Statements and Invoices must be set up separately. Both require Proofs to be approved. Statement Profiles Setup Statement/Invoice Test Batch and ...