Edit an Appointment Group
Edit an Appointment Group
Appointment Group Modifications
- From Scheduling on the Left Side Menu, select the Group Management button.
- Select the Group ID.

- Select the Edit link to make changes to the Group.
Action Icons: Remove, Vacate, Rejoin, Transfer, and History Icons
Once a Leader or Member is added, the Action icons can be used to Edit the Leaders and Patients. Hovering over the icons will give Action guidance.
- The X icon
removes a member and the record from the group. This is only available if the person has never attended a Group Appointment.
- The Red Person icon
vacates the spot a member held in the group but leaves the person's record visible.
- The Green Person icon
Member leaves the group but the spot is held to rejoin at a later time.
- Transfer to another group: Use the right Arrow icon
to transfer the member to another Group.
- The History icon
displays changes for the members in that Group.
- Select Save [F2].
![]()
Edit the Group when the Appointment is being Made
- Select the Edit icon on the Add Appointment screen.
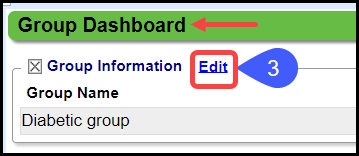
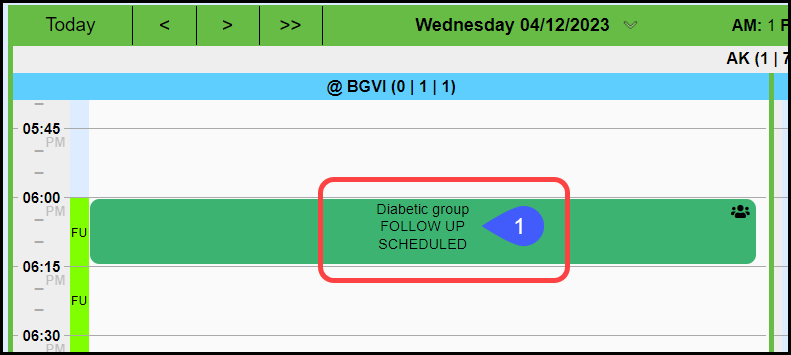
Edit the Group on the Appointment Screen
- Select the Appointment on the Calendar
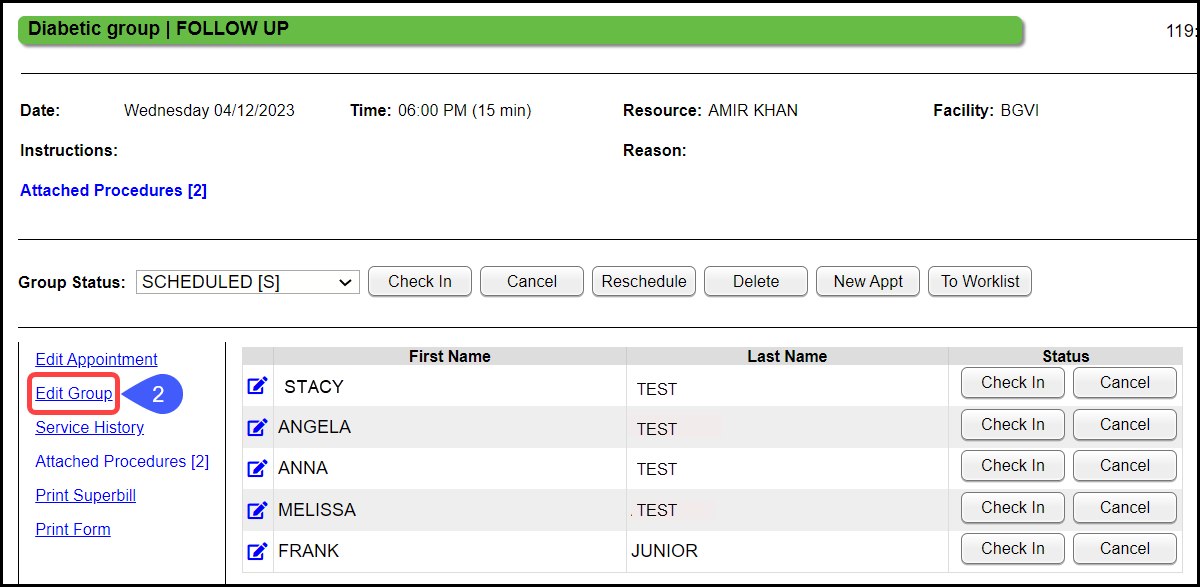
- Select Edit Group.
Related Articles
Edit an Appointment
Edit an Appointment Click the Patient's Appointment slot. Click Edit Appointment. Make the changes in the pop-up window. Click Save [F2]. Fields that cannot be Edited Date Time Resource Person Patient Dashboard and Refresh Mark an Individual Patient ...Add/Edit a Reporting Group
Reporting groups can be added to Providers, Referring Providers, Facilities, Insurances, Employers, and Procedure codes and can be added at anytime. Grouping allows for easier reporting for items that will commonly be reported together. Add a ...Group Appointment Actions
Click the Group Appointment. Action Buttons: Group Status panel buttons: Affect the entire Group Check In (1): Use Check In next to a Member to check them in individually Cancel (A): To cancel the entire Group. Use the Cancel button next to a Member ...Patient Appointment Screen
When you select a Patient's Appointment on the Calendar, it opens the Patient's Appointment screen which displays: Banner Patient's name DOB/Age Appointment Type Additional Patient Information Phone Numbers Address Patient's Insurance Appointment ...Edit an Existing Case and an Existing Authorization
Edit an Existing Case From the Patient Dashboard Select the Cases link. Select the Case ID. Select the Edit link. From the Modify Charge Screen Select the Modify button on the Encounter Dashboard. Select the Case from the dropdown if it is not ...