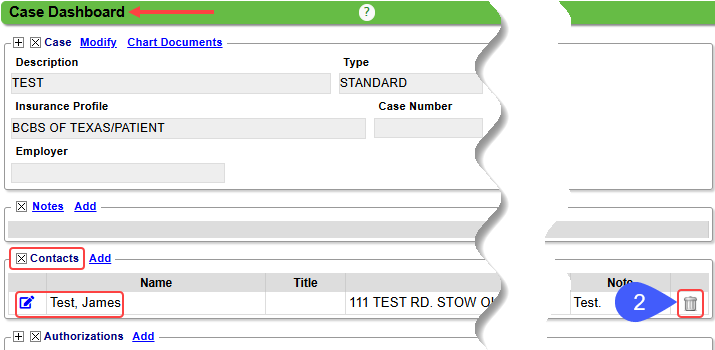
Add/Modify/Remove a Case Contact
Once the Case is saved, you can Add/Modify Contacts on the Case Dashboard.
Add Contacts to a Case
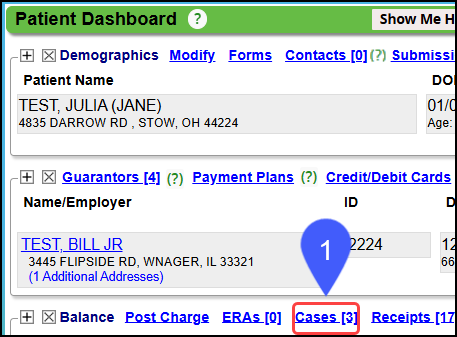
- From the Patient Dashboard, select the Cases link.
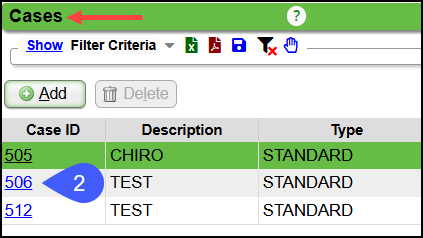
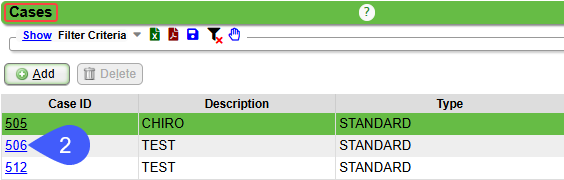
- From the Cases screen, Select the Case ID.
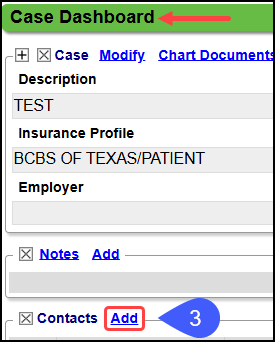
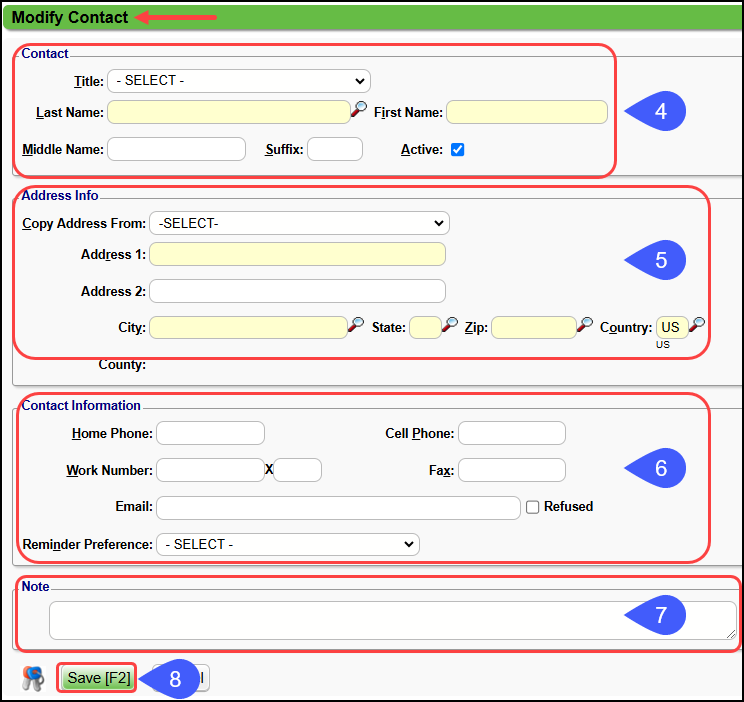
- In the Contact panel, select the Add button.
- Contact Panel: Enter the Contact Name.
- Additional Info Panel: Enter Contact's address or copy from the Patient.
- Contact Info Panel: Enter Phone/Fax numbers, Email address, and Reminder Preference, if applicable.
- Note Panel: Enter an Internal Note if needed.
- Select Save [F2].
Modify Contacts on a Case
Any modifications made here will also affect their demographic record.
- Select the Cases link on the Patient Dashboard
- From the Cases screen, select the Case ID.
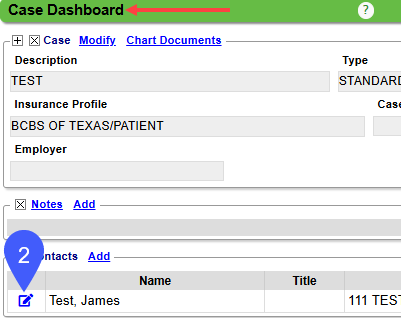
- On the Case Dashboard, select the Modify Icon in the Contact panel.
- Modify the Contact Information.
- Select Save [F2].
Remove or Delete a Contact from a Case
If a Contact has changed on a Case, the Contact can be made Inactive or Deleted.
Make a Contact Inactive
- On the Patient Dashboard, select the Cases link.
- Select the Modify icon on the Contact in the Contacts Panel.
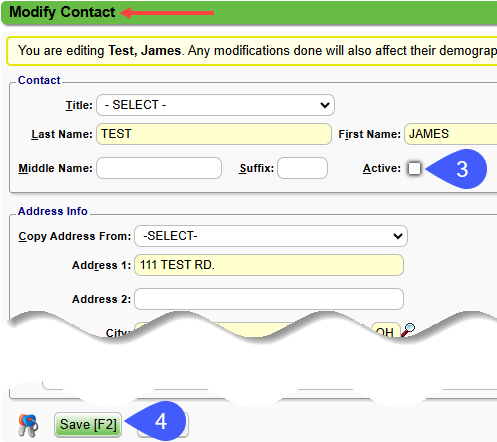
- Deselect the Active check box.
- Select Save [F2].
Delete a Case Contact

If a Contact is deleted, that person will be gone from the Case and the System with no history. It is recommended to Inactivate instead.
- On the Patient Dashboard, select the Cases link.

- In the Contacts Panel, select the Trash Can on the right on the Contact to delete.
- The Contact will be deleted immediately from the Case and from the System.
- You do not need to save the screen.